
So here’s the thing about old-fashioned apple crisp—I thought I knew how to make it until I tried my neighbor’s version last fall and basically threw my recipe in the trash. Look, I’m not usually one to admit defeat in the kitchen, but this woman’s apple crisp made mine taste like… well, like disappointment with oats on top.
That was back in October when everyone was going crazy for pumpkin everything, but I was sneaking over to Janet’s house hoping she’d made more apple crisp. Pathetic? Maybe. Worth it? Absolutely. She finally shared her secret after I brought over a bottle of wine and practically begged. Turns out, I’d been doing everything wrong.
But here’s the good news—old-fashioned apple crisp is actually super forgiving once you know what you’re doing. I’ve made this recipe about fifteen times since Janet showed me the ropes, and it’s worked every single time. Even when I was distracted by a phone call and left it in the oven an extra ten minutes. Still perfect.
Table of Contents :
Why This Old-Fashioned Apple Crisp Actually Works :
Most apple crisp recipes online are either too fancy or too bland—there’s no middle ground. This one hits that sweet spot where it tastes like something your grandma would have made, but without all the guesswork and “pinch of this, dash of that” nonsense that made her recipes impossible to recreate.
The secret is in the topping. I know everyone says that, but seriously—the topping makes or breaks apple crisp. Too much butter and it’s greasy. Too little and it’s dry. Wrong ratio of oats to flour and it either doesn’t crisp up or it gets too hard. This recipe gets it just right.
My kids, who normally pick fruit out of everything, actually ask for seconds on this one. And my mother-in-law—who’s never complimented my cooking in the eight years I’ve been married to her son—asked for the recipe after Thanksgiving dinner. That’s when I knew I’d finally nailed it.
What Makes This Old-Fashioned Apple Crisp Special :
Here’s what I learned from Janet (and through my own kitchen disasters): it’s all about the apple-to-topping ratio and not overthinking the spices. Too many recipes try to get fancy with cardamom or ginger or whatever, but classic cinnamon and a tiny bit of nutmeg is all you need.
Also—and this is crucial—you gotta use the right apples. I used to just grab whatever was on sale, which explains why my early attempts were either mushy or weirdly tart. Now I stick to a mix of Granny Smith and something sweeter like Honeycrisp or Gala. Game changer.
The other thing? Don’t skip the lemon juice. I thought it was optional for the longest time. It’s not. It keeps the apples from browning and adds this brightness that makes everything taste more… apple-y, if that makes sense.
Ingredients for Perfect Old-Fashioned Apple Crisp :
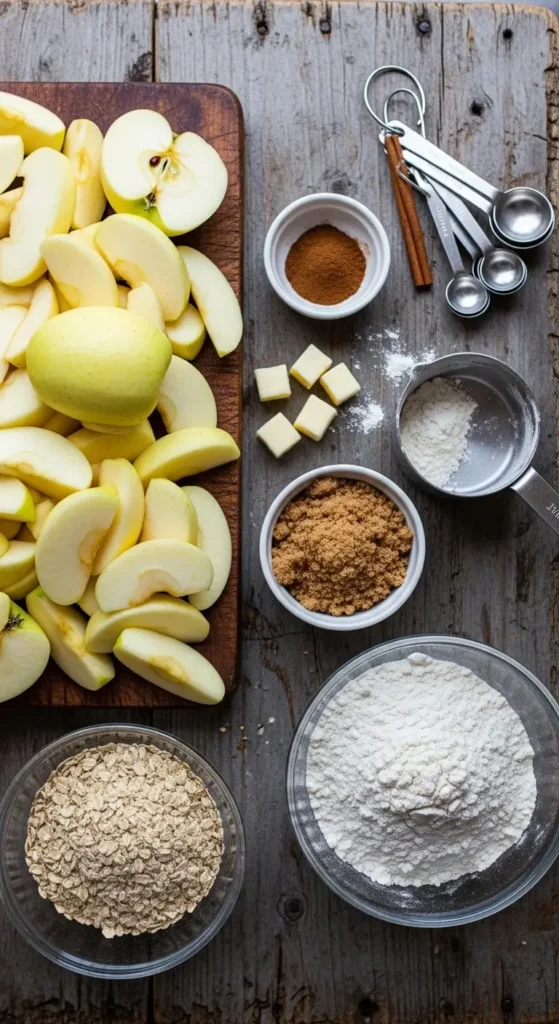
Alright, let’s talk ingredients. Nothing too crazy here, which is exactly why this recipe works :
For the Apple Filling:
- 8-10 medium apples (I use 5 Granny Smith, 3-4 Honeycrisp)
- 3 tablespoons all-purpose flour
- 1/2 cup brown sugar
- 1 teaspoon cinnamon
- 1/4 teaspoon nutmeg
- 2 tablespoons lemon juice
- 2 tablespoons butter, melted
For the Crisp Topping:
- 1 cup old-fashioned oats (don’t use quick oats—learned that one the hard way)
- 3/4 cup all-purpose flour
- 3/4 cup brown sugar, packed
- 1/2 teaspoon cinnamon
- 1/2 teaspoon salt
- 1/2 cup cold butter, cubed
Quick note about the apples: peeling them is non-negotiable. I know some people leave the skins on, but trust me—it changes the texture and not in a good way. Also, cut them into fairly uniform pieces so they cook evenly. I learned this after making apple crisp that was simultaneously mushy and crunchy in all the wrong places.
The butter needs to be cold for the topping. Room temperature butter gives you more of a cake-like situation instead of that perfect crumbly texture we’re after.
How to Make the Best Old-Fashioned Apple Crisp :
Step 1: Prep Everything First
Preheat your oven to 350°F and butter a 9×13 pan. I sometimes use an 8×8 if I’m making a smaller batch, but the 9×13 is perfect for feeding a crowd or having leftovers (which you’ll want, trust me).
Step 2: Prepare the Apples
This is where I used to rush and mess everything up. Take your time peeling and slicing the apples. I cut mine into fairly thick slices—about 1/4 inch—because they’ll shrink down as they cook.
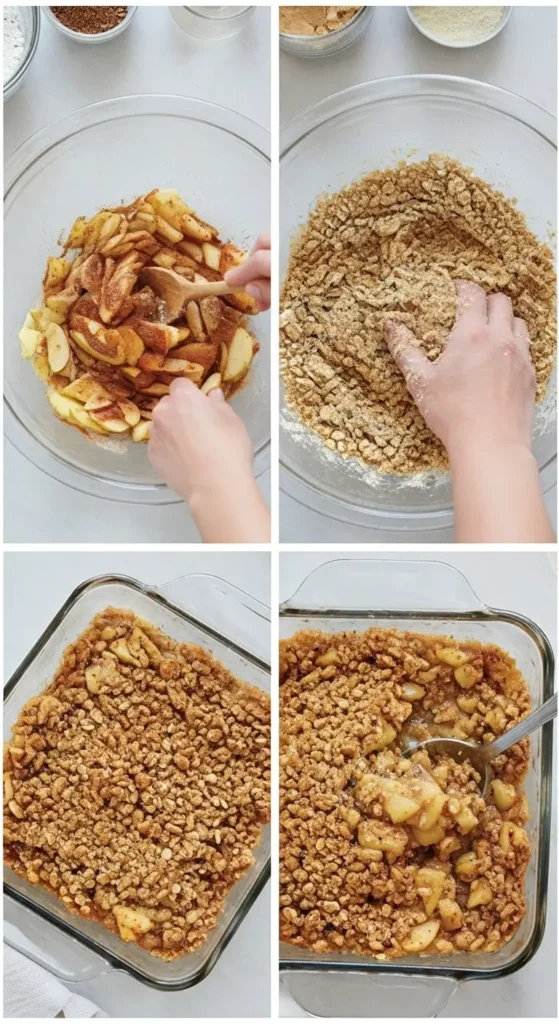
Toss the sliced apples with the flour, brown sugar, cinnamon, nutmeg, lemon juice, and melted butter in a big bowl. Make sure everything’s coated evenly. The flour helps thicken the juices so you don’t end up with apple soup at the bottom of your pan.
Step 3: Make the Crumb Topping
Here’s where Janet’s technique really shines. Mix the oats, flour, brown sugar, cinnamon, and salt in another bowl. Then add the cold butter cubes and use a pastry cutter (or two forks if you don’t have one) to cut it in until it looks like coarse crumbs.
Don’t overmix this—you want some bigger pieces of butter because they’ll create those perfect golden patches when it bakes. If your butter starts getting too soft while you’re working with it, stick the whole bowl in the fridge for a few minutes.
Step 4: Assemble and Bake
Spread the apple mixture evenly in your prepared pan. Then sprinkle the crumb topping over everything, making sure to cover all the apples. I like to gently pat it down just a tiny bit so it doesn’t all fall off when you serve it.
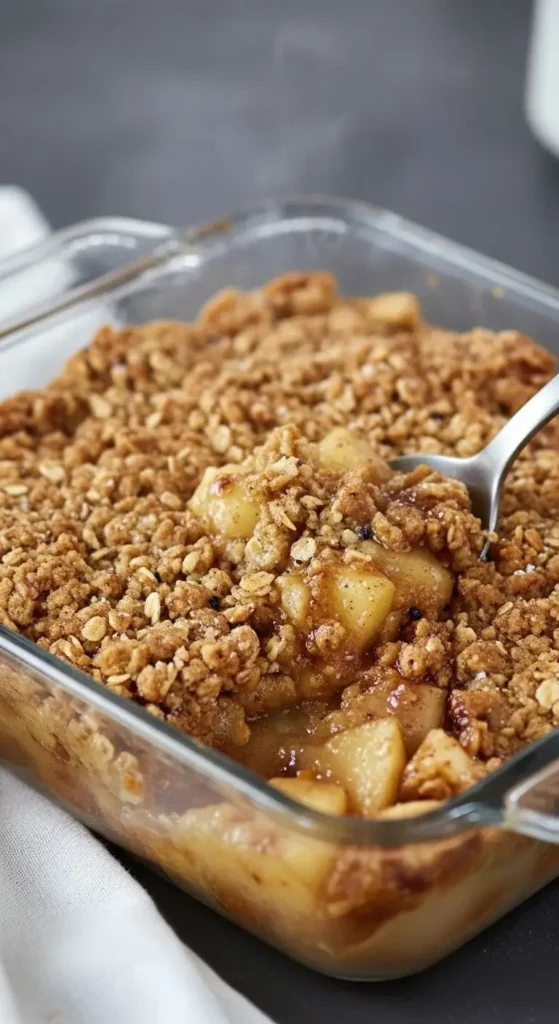
Bake for 40-45 minutes until the top is golden brown and you can see the apple juices bubbling around the edges. If the top starts getting too dark before the apples are tender, just cover it with foil for the last 10 minutes.
My Hard-Learned Tips for Old-Fashioned Apple Crisp :
After making this more times than I care to admit, here are the things that’ll save you from my mistakes :
Don’t skip the flour in the apple mixture. I tried to be healthy once and left it out. Big mistake. The bottom of the crisp was basically apple soup and the topping was soggy.
Cold butter is your friend. Room temperature butter makes the topping dense instead of crispy. I keep my butter in the freezer for about 15 minutes before I cube it up.
Taste your apples first. Some batches are more tart than others, so adjust your sugar accordingly. I’ve had to add an extra 2-3 tablespoons of brown sugar when my Granny Smiths were particularly sour.
Let it rest before serving. I know it’s hard when it smells so good, but letting it sit for at least 15 minutes helps everything set up properly. Plus, it’ll be molten lava hot straight from the oven and nobody wants to burn their tongue on dessert.
And here’s something I discovered completely by accident: a tiny splash of vanilla in the apple mixture makes everything taste more intense. My bottle tipped over while I was cooking one day and I thought I’d ruined it. Best mistake ever.
Why This Old-Fashioned Apple Crisp Recipe Is a Winner :
Look, I’m not saying this is going to change your life or anything, but it might change your Thanksgiving dessert game. I’ve brought this to potlucks, family dinners, and random Tuesday night cravings, and it disappears every single time.
The best part is how your house smells while it’s baking. That cinnamon-apple situation is better than any candle you can buy. My husband always knows when I’m making apple crisp because he comes home and immediately asks what the occasion is. Sometimes there isn’t one—sometimes you just need apple crisp in your life.
This recipe also freezes really well. I make two pans sometimes and freeze one before baking. Then when we want dessert later, I just pop it in the oven straight from the freezer and add about 10 extra minutes to the baking time. Perfect for when you need to look like you have your life together but really you just planned ahead for once.
My mom always said the mark of a good recipe is when people ask you to make it again, and I’ve gotten more requests for this old-fashioned apple crisp than anything else I make. It’s not fancy, it’s not Instagram-perfect, but it’s exactly what apple crisp should be: warm, comforting, and totally addictive.
Try this recipe and tell me you don’t immediately want to make another one. And if your topping doesn’t get as crispy as you’d like the first time, just stick it under the broiler for a minute or two at the end. Learned that trick from my sister-in-law, who’s annoyingly good at fixing my kitchen mishaps.
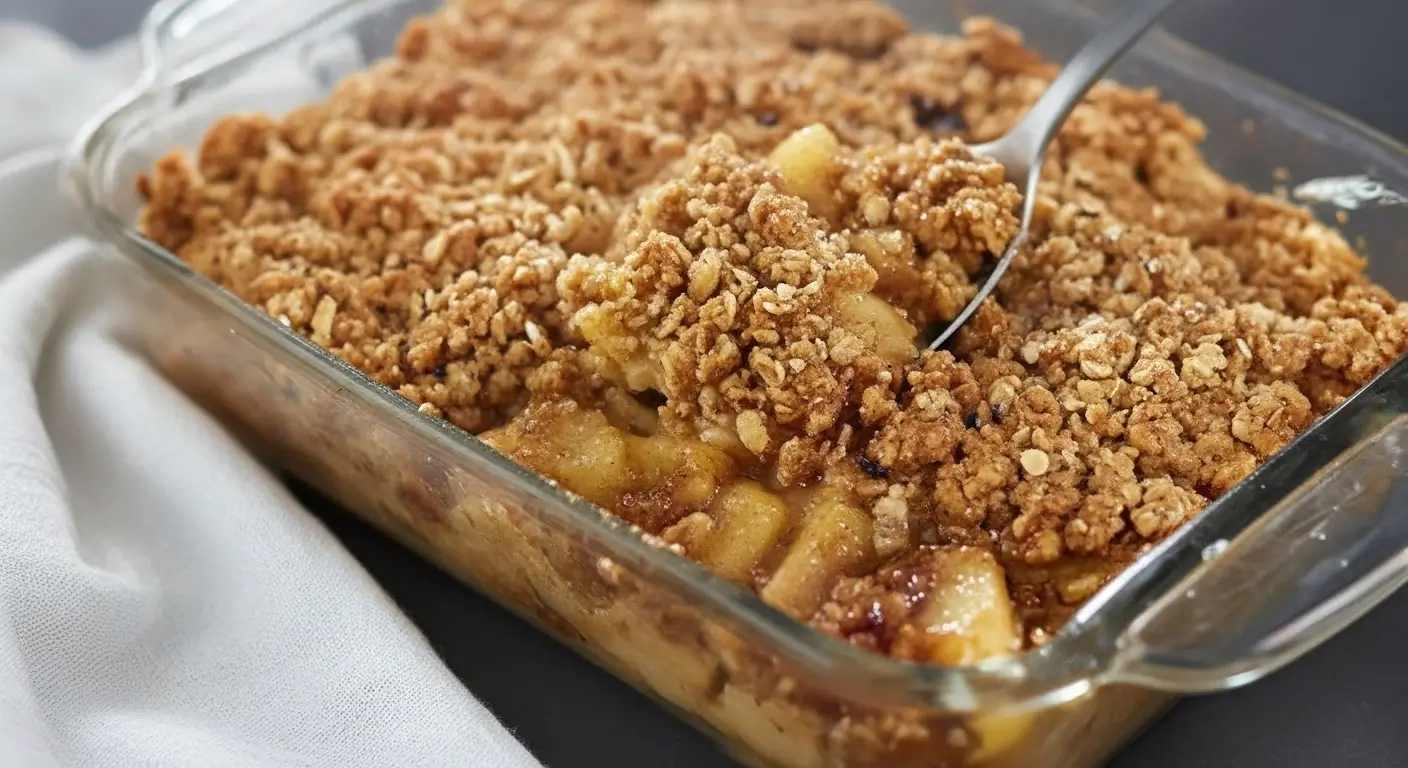
Old-Fashioned Apple Crisp - Easy Homemade Dessert
Traditional old-fashioned apple crisp recipe with perfect crumbly oat topping and tender spiced apples. Easy homemade dessert using simple ingredients that tastes like grandma made it.
Ingredients
- 8-10 medium apples (mix of Granny Smith and Honeycrisp), peeled and sliced
- 3 tablespoons all-purpose flour
- 1/2 cup brown sugar
- 1 teaspoon cinnamon
- 1/4 teaspoon nutmeg
- 2 tablespoons lemon juice
- 2 tablespoons butter, melted
- 1 cup old-fashioned oats
- 3/4 cup all-purpose flour
- 3/4 cup brown sugar, packed
- 1/2 teaspoon cinnamon
- 1/2 teaspoon salt
- 1/2 cup cold butter, cubed
Instructions
- Step 1Preheat oven to 350°F. Butter a 9x13 inch baking dish.
- Step 2Peel and slice apples into 1/4 inch thick pieces. Toss with 3 tablespoons flour, 1/2 cup brown sugar, 1 teaspoon cinnamon, nutmeg, lemon juice, and melted butter.
- Step 3Mix oats, 3/4 cup flour, 3/4 cup brown sugar, 1/2 teaspoon cinnamon, and salt in a bowl. Cut in cold butter cubes until mixture resembles coarse crumbs.
- Step 4Spread apple mixture evenly in prepared baking dish. Sprinkle crumb topping over apples, covering completely.
- Step 5Bake for 40-45 minutes until topping is golden brown and apple juices are bubbling around edges.
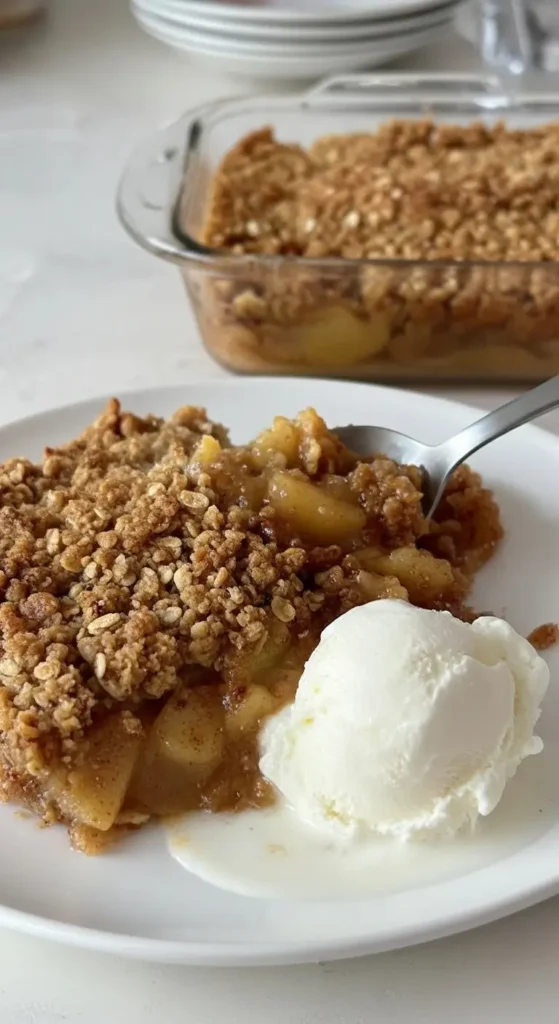
- Step 6Let rest for 15 minutes before serving. Serve warm with vanilla ice cream if desired.