
Making Resurrection Rolls: A Delicious Tradition
I remember the first time I made Resurrection Rolls. It was during Easter, and my kids were all buzzing with excitement about the holiday. These little treats aren’t just tasty; they carry a beautiful meaning with them! They symbolize the resurrection of Jesus, making them perfect for this special time of year. Trust me, watching the kids’ faces light up as they discover the melted marshmallow inside is truly magical.
What I love most about these rolls is how simple they are to whip up. You don’t need to be a master chef to create this deliciousness. With just a few ingredients, you can make something that feels special. So, whether you’re planning a family gathering, a holiday brunch, or just a cozy treat at home, these Resurrection Rolls are sure to wow everyone.
Why Make This Recipe
There are plenty of good reasons to try making Resurrection Rolls. First off, they’re incredibly easy! Seriously, if I can make them, anyone can. The combination of soft, warm crescent dough with gooey, sweet marshmallows is just heavenly. It’s like biting into a fluffy cloud of sweetness.
Plus, they’re fun to make with kids. It’s a great way to bring everyone together in the kitchen, sharing stories and laughter while creating something beautiful. And let’s not forget, they carry a meaningful message, which adds depth to your holiday celebrations. Everyone loves a treat with a story, right?
Table of Contents
- How to Make Easy Resurrection Rolls
- Ingredients
- Directions
- How to Serve Easy Resurrection Rolls
- How to Store Easy Resurrection Rolls
- Tips to Make Easy Resurrection Rolls
- Variations
- FAQs
How to Make Easy Resurrection Rolls
Alright, let’s dive into this delightful recipe! What makes Resurrection Rolls so fantastic is how simple they are to put together, yet they taste like you’ve spent ages on them. They’re perfect for both seasoned bakers and those new to the kitchen. With just a handful of common ingredients, you’re ready to start.
Ingredients

You’ll need:
- Crescent dough
- Marshmallows
- Butter
- Cinnamon
- Sugar
Before you get started, let me share a quick tip: you can use any type of marshmallows you like! Mini or regular ones work just fine. If you want to jazz them up a bit, try using flavored marshmallows for a fun twist.
Directions
Let’s get cooking!
- Preheat the oven to 350°F (175°C).
- Open the crescent dough and separate it into triangles. Don’t worry if they don’t look perfect; they’ll still taste great!
- In a small bowl, mix together cinnamon and sugar. Get that heavenly aroma going!
- Place a marshmallow on the wide end of each triangle and sprinkle with the cinnamon-sugar mixture. This is the magic part!
- Roll the dough around the marshmallow, pinching the edges to seal. Make sure you pinch well; we don’t want any marshmallows escaping.
- Place the rolls on a baking sheet and brush with melted butter. This gives them that lovely golden color.
- Bake for 12-15 minutes or until golden brown. Your kitchen will smell amazing!
- Allow to cool slightly before serving. I know it’s hard to wait, but let them sit for a bit—trust me, it’s worth it!
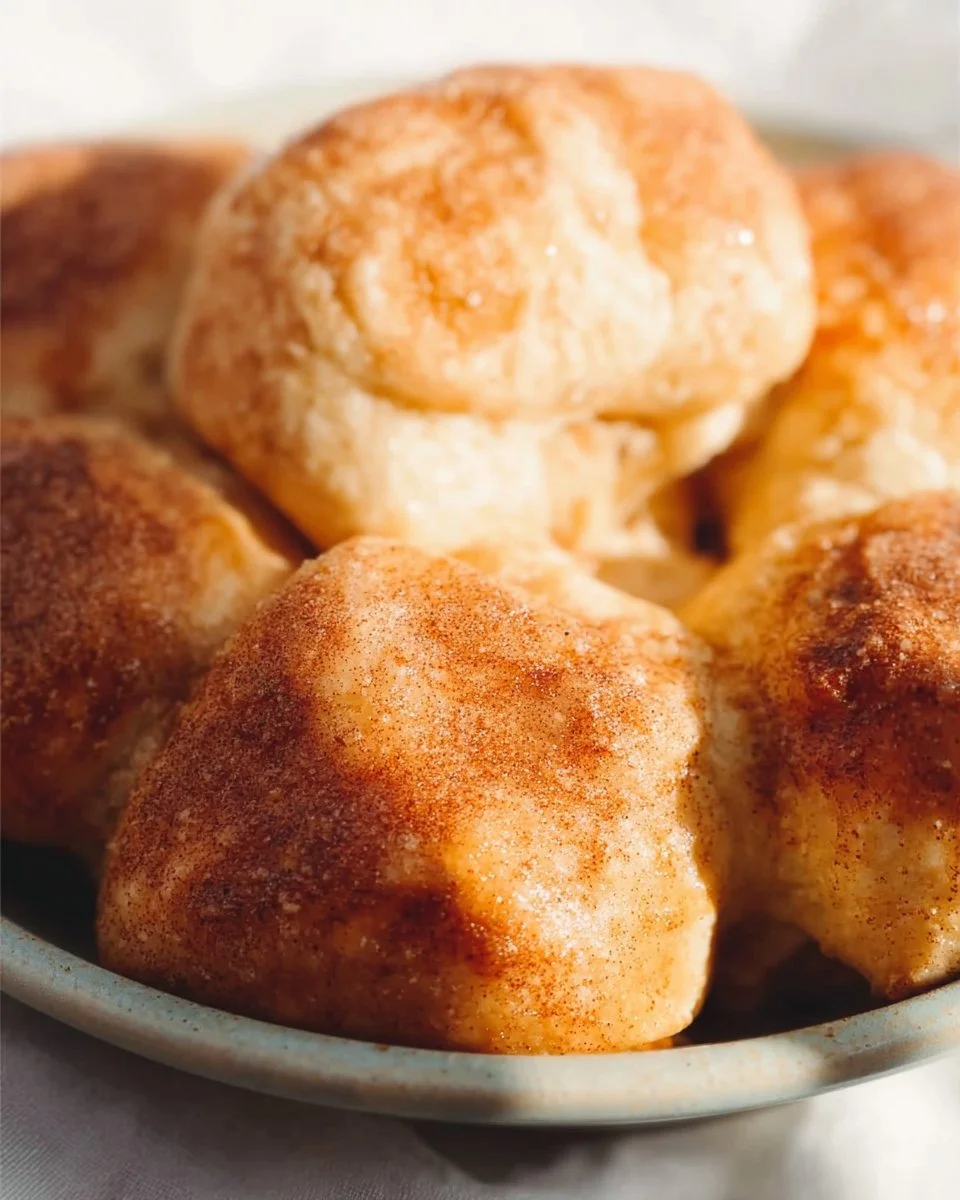
As they come out of the oven, you’ll see that the marshmallow has melted, and the dough has formed a delightful little pocket. Just so you know, if some rolls pop open a bit, don’t stress! They’ll still taste delicious.
How to Serve Easy Resurrection Rolls
These rolls are best served warm, straight from the oven. You can drizzle a little more melted butter on top or even sprinkle with a bit more cinnamon-sugar if you’re feeling fancy. They make a delightful addition to your Easter brunch table!
I sometimes pair them with fresh fruit or a scoop of ice cream for a sweet touch. They’re also great with a cup of coffee or hot cocoa on a chilly evening.
How to Store Easy Resurrection Rolls
Got leftovers? No worries! You can store these rolls in an airtight container at room temperature for a couple of days. If you want to keep them longer, pop them in the fridge; they should last up to a week.
Looking to keep them even longer? Freeze the unbaked rolls! Just wrap them tightly and store them in a freezer-safe bag. When you’re ready to enjoy, take them straight from the freezer to the oven—just add a few extra minutes to the baking time.
Tips to Make Easy Resurrection Rolls
Here are a few handy tips to make your Resurrection Rolls even better:
- If you want a little extra flavor, try adding a sprinkle of vanilla extract to the melted butter before brushing it on the rolls.
- For a crunchy texture, you can roll the filled dough in crushed nuts or coconut before baking.
- Got a little extra cinnamon-sugar? Toss it on your rolls right when they come out of the oven for extra sweetness.
Baking is all about having fun and experimenting, so don’t be afraid to make it your own!
Variations
If you’re feeling adventurous, here are some easy variations:
- Use chocolate-covered marshmallows for a chocolatey surprise.
- Try adding peanut butter in with the marshmallow for a delicious twist.
- Swap the cinnamon for pumpkin spice for a fall-inspired treat.
The options are endless, so let your creativity run wild!

FAQs
Can I use different types of dough?
Absolutely! You can experiment with different types of dough, like puff pastry or biscuit dough, if you prefer. Just keep an eye on the baking time.
What if I can’t find marshmallows?
No marshmallows? No problem! You can substitute with chocolate squares or even a spoonful of peanut butter!
Can I make these ahead of time?
Yes, you can prepare the rolls ahead of time and bake them just before serving for the best warm, gooey results.
I hope you enjoy making these Resurrection Rolls as much as I do! They’re not just a treat; they’re a sweet way to create lasting memories with loved ones. Happy baking, friends!

Resurrection Rolls
Ingredients
Method
- Preheat the oven to 350°F (175°C).
- Open the crescent dough and separate it into triangles.
- In a small bowl, mix together cinnamon and sugar.
- Place a marshmallow on the wide end of each triangle and sprinkle with the cinnamon-sugar mixture.
- Roll the dough around the marshmallow, pinching the edges to seal.
- Place the rolls on a baking sheet and brush with melted butter.
- Bake for 12-15 minutes or until golden brown.
- Allow to cool slightly before serving.