
The Perfect Jello Shots Recipe That’ll Make You the Party Hero
I’ll never forget the first time I made jello shots for my friend’s birthday party. I was so nervous about getting them right that I actually made a test batch the night before – and then promptly ate half of them myself while watching Netflix. Not my finest moment, but hey, quality control is important, right?
Here’s the thing about jello shots: they look simple, but there’s actually a bit of science behind getting them just right. Too much alcohol and they won’t set properly. Too little and, well, what’s the point? After years of making these for everything from backyard barbecues to New Year’s Eve parties, I’ve finally nailed down the perfect jello shot recipe that works every single time.
Table of Contents
Why You’ll Love This Jello Shot Recipe
These aren’t your college dorm room disasters. We’re talking about smooth, perfectly set jello shots that actually taste good and have just the right amount of kick. The secret is in the ratios – I use a foolproof formula that ensures they set properly while still packing enough flavor to make people come back for seconds.
What I love most about this recipe is how customizable it is. Want them stronger? I’ll show you how to adjust. Prefer them sweeter? Got you covered. And the best part? You can make them hours ahead of time, which means more time to actually enjoy your party instead of playing bartender all night.
What You’ll Need
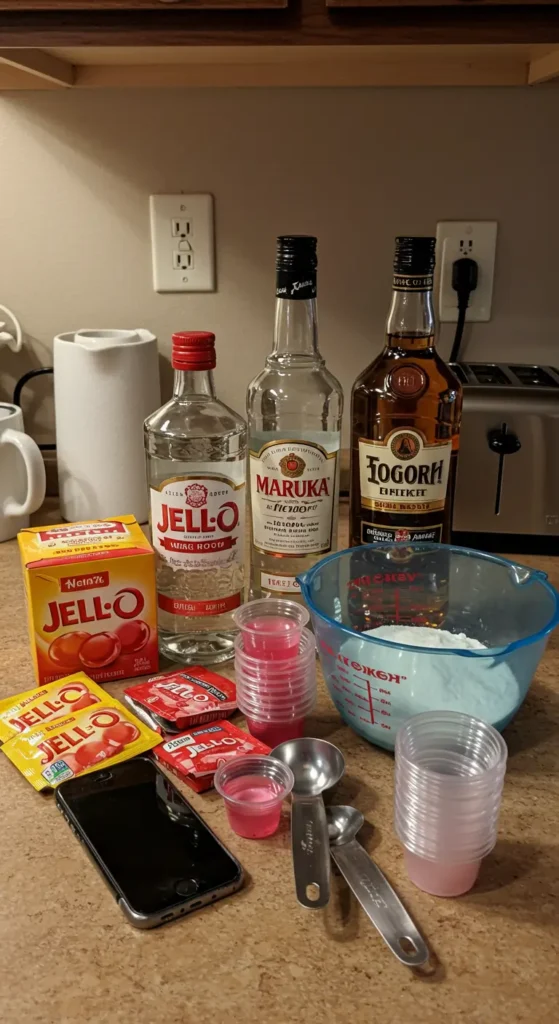
For Basic Jello Shots:
- 1 package (3 oz) flavored gelatin (any flavor you like)
- 1 cup boiling water
- 1/2 cup cold water
- 1/2 cup vodka (or your spirit of choice)
- Plastic shot cups (about 2 oz size)
- Cooking spray or small amount of oil
My Favorite Flavor Combinations:
- Cherry + Vodka – classic and crowd-pleasing
- Lime + Tequila – tastes like a margarita in jello form
- Orange + Rum – tropical vibes
- Strawberry + Vodka – sweet and fruity
- Lemon + Vodka – tart and refreshing
Let me tell you about the gelatin choice – I’ve tried every brand out there, and honestly, the regular grocery store stuff works just fine. Don’t feel like you need to hunt down some fancy artisanal gelatin. Save your money for good alcohol instead.
Step-by-Step Instructions
Getting Started
First things first – lightly spray your shot cups with cooking spray or wipe them with a tiny bit of oil on a paper towel. This step is a game-changer that I learned the hard way. Nothing ruins a party faster than jello shots that won’t come out of their cups cleanly.
The Perfect Mix
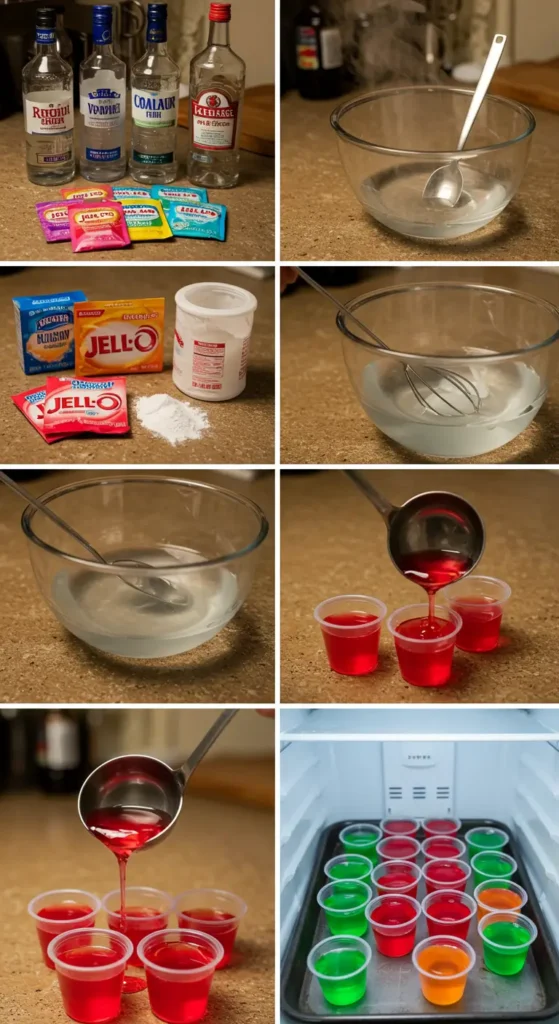
Bring your water to a rolling boil. I usually use my electric kettle because it’s faster, but a pot on the stove works just fine. While that’s heating up, empty your gelatin packet into a medium mixing bowl.
Pour the boiling water over the gelatin and whisk like your life depends on it for about 2 minutes. You want every single granule dissolved – any lumps will show up in your final product, and trust me, nobody wants chunky jello shots.
Here’s where I made my biggest mistake early on: I used to add the alcohol right after the hot water. Don’t do this! The alcohol will evaporate and you’ll end up with expensive, boozy-smelling steam instead of potent jello shots.
The Cooling Process
Add your cold water first and stir well. Let this mixture cool for about 5-10 minutes – it should still be warm but not scalding hot. Then add your alcohol and stir gently. The mixture should be smooth and well-combined.
Filling the Cups
Pour the mixture into your prepared shot cups, filling them about 3/4 full. Don’t overfill – learned this lesson when half my shots overflowed in the fridge and created a sticky mess that took forever to clean up.
The Waiting Game
Refrigerate for at least 4 hours, but overnight is even better. I know it’s tempting to check on them every hour, but resist the urge. Opening the fridge constantly just lets cold air out and can mess with the setting process.
Tips From My Kitchen
The Alcohol Sweet Spot: The 1:1 ratio of cold water to alcohol is crucial. I’ve experimented with stronger ratios, and while they taste more potent, they often don’t set properly. If you want them stronger, try using a higher-proof vodka rather than adding more alcohol.
Temperature Matters: Never add alcohol to hot gelatin mixture. It needs to cool down first, or you’ll cook off the alcohol and be left with sad, weak jello shots.
Make Them Pretty: Drop a few berries or a small piece of fruit into each cup before they set. Looks fancy and adds a nice touch.
The Toothpick Test: Not sure if they’re ready? Gently touch the surface with a toothpick. If it’s firm and doesn’t stick, they’re done.
Mistakes I’ve Made (So You Don’t Have To)
My biggest disaster was the time I tried to speed up the process by putting them in the freezer. Half of them cracked, and the other half had this weird, rubbery texture. Patience is key with jello shots.
Another time, I forgot to spray the cups and spent twenty minutes trying to get them out cleanly. Some came out looking like they’d been through a blender. Learn from my pain – always prep your cups first.
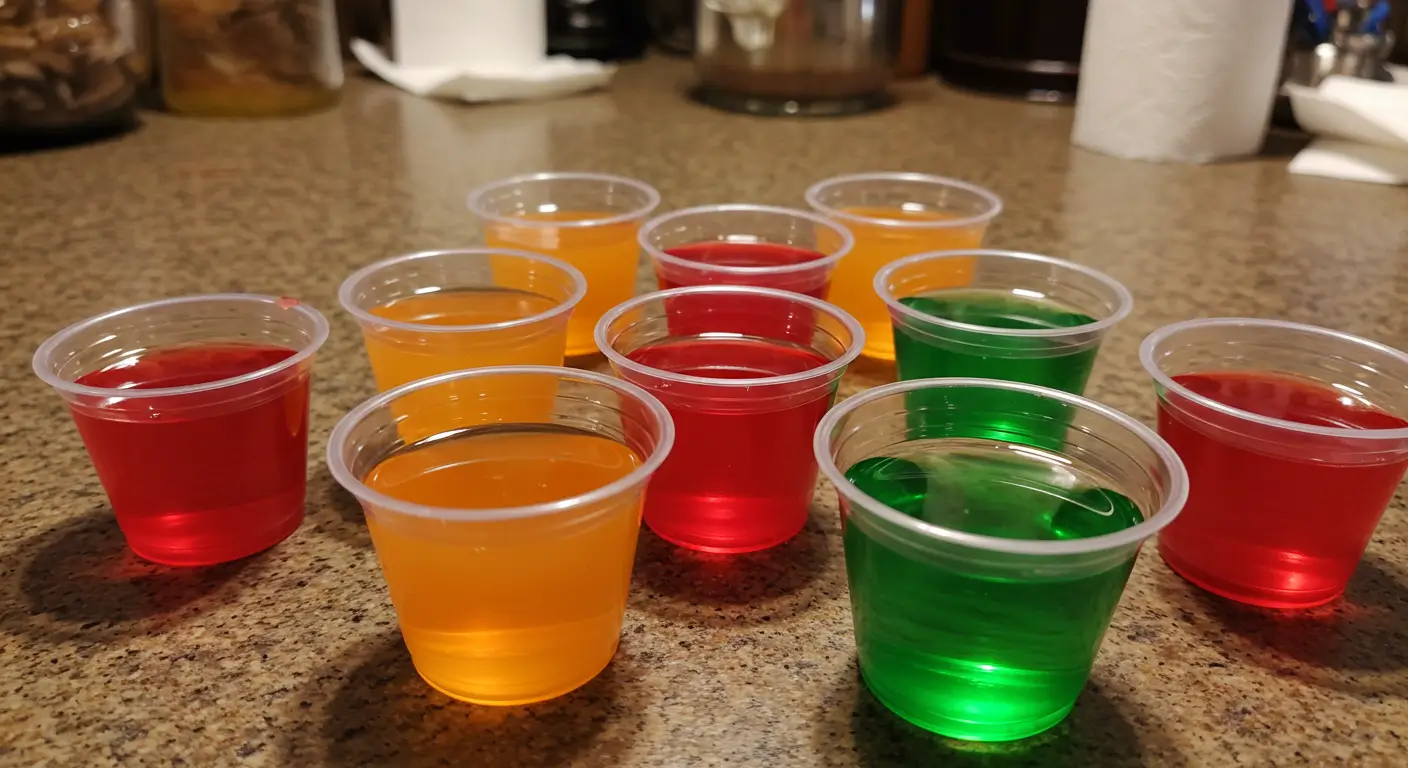
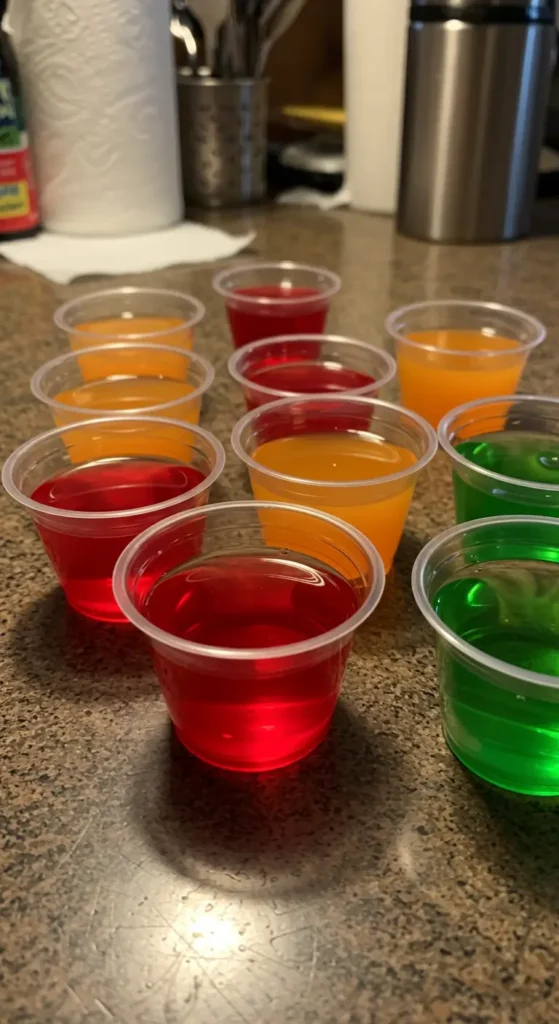
Serving Suggestions
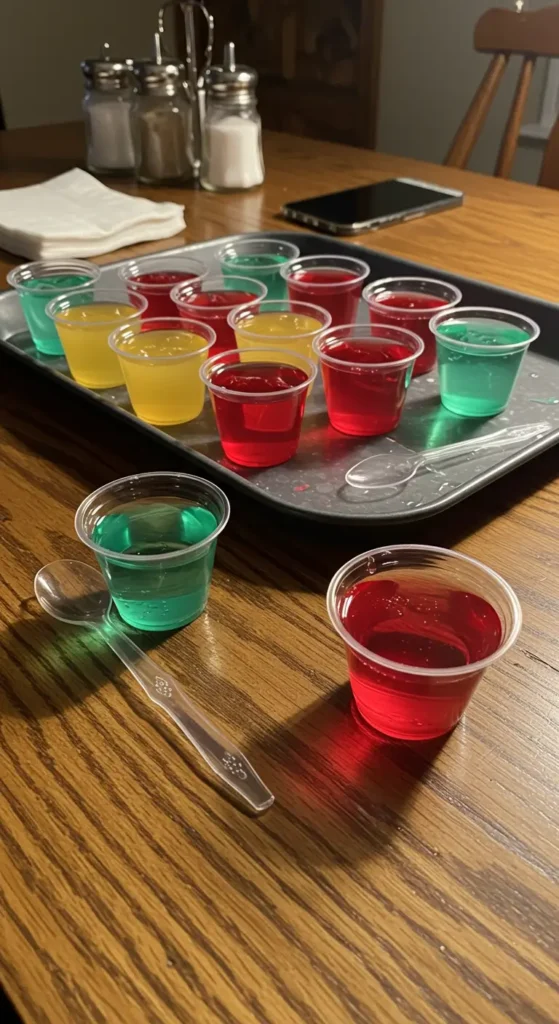
The beauty of jello shots is that they’re perfectly portioned already. I like to arrange them on a tray with some fun cocktail napkins. For fancier parties, you can rim the cups with colored sugar or add a small dollop of whipped cream on top.
If you’re feeling creative, try layering different flavors. Make one flavor, let it set halfway, then add another layer. Takes more time but looks incredible.
Storage and Make-Ahead Tips
These keep beautifully in the fridge for up to 3 days, which makes them perfect for party prep. I usually make mine the night before, and they’re always perfectly set by party time.
Don’t try to freeze them for long-term storage – the texture gets weird and they lose their smooth consistency.
Final Thoughts
Making perfect jello shots isn’t rocket science, but it does require a bit of patience and attention to detail. The key is getting your ratios right and not rushing the process. Once you master this basic recipe, you can experiment with different flavors and even get creative with add-ins like fresh fruit or herbs.
These always disappear fast at parties, so I’ve learned to make at least double what I think I’ll need. There’s something about the combination of nostalgia, convenience, and just the right amount of alcohol that makes people keep coming back for more.
Now go make some magic happen in your kitchen – and maybe test a few for quality control purposes. I won’t tell if you won’t.