
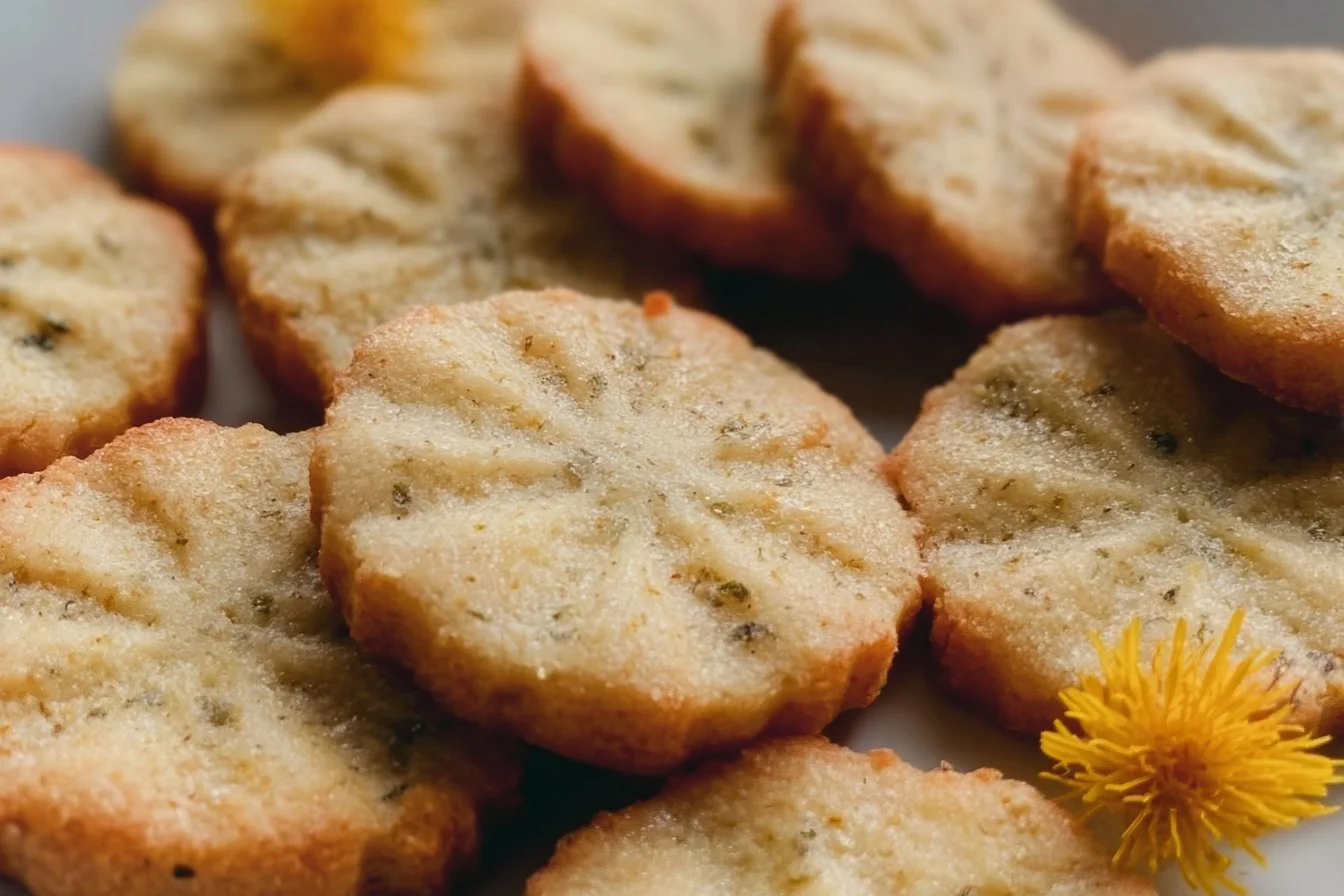
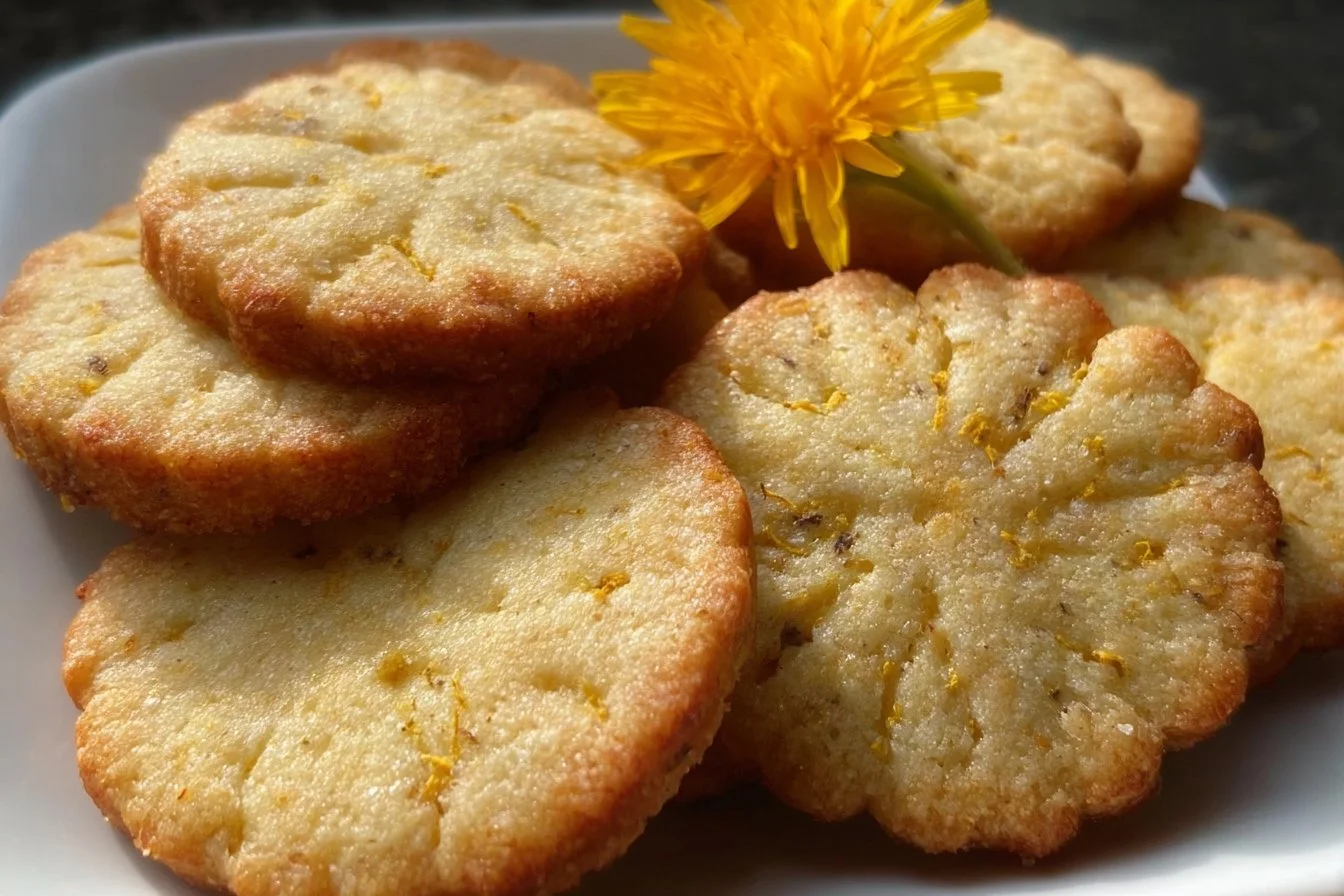
Making Honey Dandelion Shortbread Cookies: A Delicious Adventure
You know, I’ve been searching high and low for a solid recipe for Honey Dandelion Shortbread Cookies. Why? Because they’re not just cookies; they’re like nature’s little gifts! But, man, it’s a struggle to find someone who really nails it. So, after a few attempts, I’m here to share my experience with you. Spoiler alert: it’s a delightful journey filled with laughter, a couple of mess-ups, and a lot of buttery goodness.
Ingredients You’ll Need
Okay, let’s talk ingredients. Here’s what you’ll need:
- 1/2 cup unsalted butter, softened
- Scant 2/3 cup sugar
- 1 heaped tablespoon honey
- 1/2 cup loosely packed dandelion petals
- 1/4 teaspoon salt (sea salt if you’re fancy, regular salt if you’re normal like me)
- 1/2 teaspoon pure vanilla extract
- 1-1/4 cups all-purpose flour
- Coarse sugar for topping (optional, but let’s be real, why wouldn’t you want sparkly sugar?)
Now, I got my dandelion petals from my backyard. Yes, I foraged! It felt like I was on some kind of adventure. But—side note—I had to make sure they hadn’t been sprayed with chemicals. A little rinse under cold water, and we were good to go. Weirdly enough, my 8-year-old hates all veggies but gobbles down these cookies. Go figure!
Instructions: The Fun (and Messy!) Part
Okay, first things first: Wash those lovely dandelion flower heads under cold water. They’re going to need a good scrubbing, and then let them dry on a kitchen towel while you get everything ready. (Trust me on this one.) Pick off the yellow petals until you have that nice half cup you need.
And now, in a stand mixer bowl (or just a big mixing bowl if you’re like me and don’t have fancy tools), cream the softened butter, sugar, and honey together. I usually mix it until it looks light and fluffy—think clouds, not bricks! This definitely takes a couple of minutes, so don’t rush it.
Mix in those dandelion petals. It’s at this moment you get that beautiful, flowery aroma. It’s like spring in your kitchen!
On low speed—you don’t want to launch flour everywhere—add the salt and vanilla. As you’re mixing, gradually add the flour until it’s just incorporated. Pro tip: Scrape down the bowl if you see any rogue flour hiding at the bottom. Been there, done that.
Now for the fun part! Turn the dough onto some plastic wrap and roll it into a log about 2-2.5 inches in diameter. (I made mine slightly lopsided, but it’s cookies, not art, right?) Wrap it up and toss it in the fridge. This is where patience comes in—it’s gotta chill for at least an hour or, if you can manage it, overnight.
Okay, preheat your oven to 350°F. Now’s a good time to line your baking sheets with parchment paper. Slice that chilled log into 1/4-inch slices. You can even pretend you’re a professional chef for a minute. (Just don’t cut your finger. Yikes!) Place those slices about an inch apart on the sheets. Optional: sprinkle the tops with coarse sugar for that extra crunch.
Bake them for 9-11 minutes. Keep an eye on ’em! You want the edges and bottoms golden but not burned. I learned this the hard way when I completely ruined a batch because I got distracted by a Netflix show! Let them cool on the baking sheets for a couple of minutes before moving them to a cooling rack—you want them to set a bit.
Finally, stash them in an airtight container. Honestly, they taste even better the next day after the flavors meld together.
Kitchen Wisdom & Personal Tips
So, along the way, I’ve learned some things that really make a difference with these cookies:
Don’t skimp on the butter. Seriously. It’s what makes them divine. And, um, if you accidentally use cold butter, your mixing game will suffer. Trust me.
Keep an eye on the baking. I usually set a timer, and then, ya know, I keep a very close eye.
Feel free to experiment. If honey’s not your jam, you could try maple syrup. I haven’t yet, but I think it could work well.
Serve them with tea or coffee. Like, these cookies are best enjoyed with a warm drink, bursting with flavor.
Honestly, I was a little worried about sharing this recipe. What if they don’t turn out for you? But look, I’m gonna be honest, they’ve turned out great every time for me! Your friends will be impressed, I promise.
Anyway… have you ever tried making anything like this? I’d love to hear your thoughts or any other dandelion recipes you’ve come across! Let me know in the comments because I’m curious.
So there you have it—my journey with Honey Dandelion Shortbread Cookies. Give them a try! And if you mess up, well, I’ve been there too. Happy baking! 🎉🍪

Honey Dandelion Shortbread Cookies
Ingredients
Method
- Wash dandelion flower heads under cold water and let them dry on a kitchen towel.
- Pick off the yellow petals until you have 1/2 cup.
- In a mixing bowl, cream together softened butter, sugar, and honey until light and fluffy.
- Mix in dandelion petals.
- On low speed, add salt, vanilla, and gradually incorporate flour until just combined.
- Turn dough onto plastic wrap, shape it into a log (2-2.5 inches in diameter), wrap it, and chill in the fridge for at least 1 hour.
- Preheat oven to 350°F (175°C) and line baking sheets with parchment paper.
- Slice the chilled log into 1/4-inch slices and place them on the baking sheets about an inch apart.
- Optionally sprinkle the tops with coarse sugar.
- Bake for 9-11 minutes until edges and bottoms are golden, watching them carefully.
- Cool on baking sheets for a couple of minutes before transferring to a cooling rack.
- Store in an airtight container. Cookies taste better the next day.