
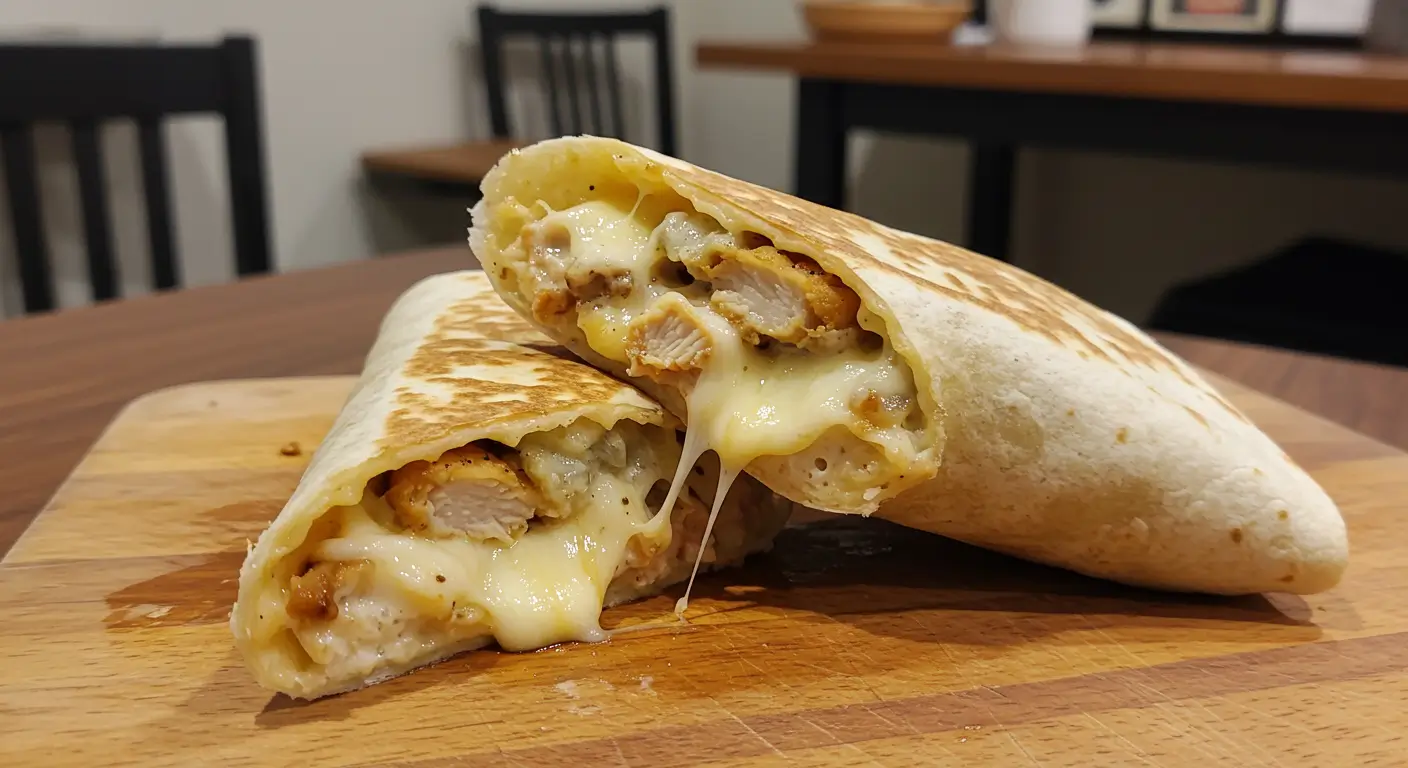
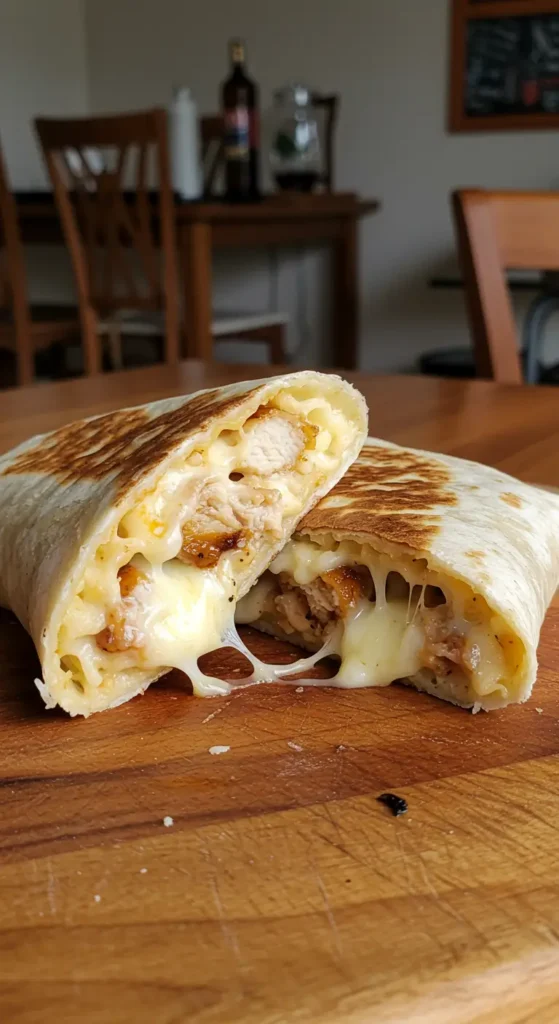
The Best Cheesy Garlic Chicken Wraps You’ll Ever Make
You know those nights when you’re staring into the fridge, wondering what magic you can create with leftover chicken and whatever’s lurking in your produce drawer? That’s exactly how my cheesy garlic chicken wraps were born. I had some grilled chicken from Sunday dinner, a bag of tortillas that were about to expire, and this crazy craving for something garlicky and cheesy. Three ingredients later, I had accidentally created what my family now calls “the best wrap ever.”
I’m not kidding when I say these wraps have become our go-to weeknight dinner. They’re ridiculously easy, take maybe 20 minutes from start to finish, and they satisfy that comfort food craving without making you feel like you need a nap afterward. Plus, they’re one of those recipes that actually gets better when you make them your own – which I’ll tell you all about.
Table of Contents
Why You’ll Love This Recipe
Let me tell you what makes these cheesy garlic chicken wraps so special. First off, they’re incredibly versatile. Got leftover rotisserie chicken? Perfect. Want to use chicken thighs instead of breasts? Even better. The base recipe is foolproof, but there’s so much room to play around.
The garlic butter sauce is what really makes these wraps sing. I learned this trick from my neighbor who’s basically a garlic goddess – she makes this simple mixture that’s part butter, part olive oil, and loaded with fresh garlic. It gets absorbed into the chicken and creates this amazing flavor that’s rich but not heavy.
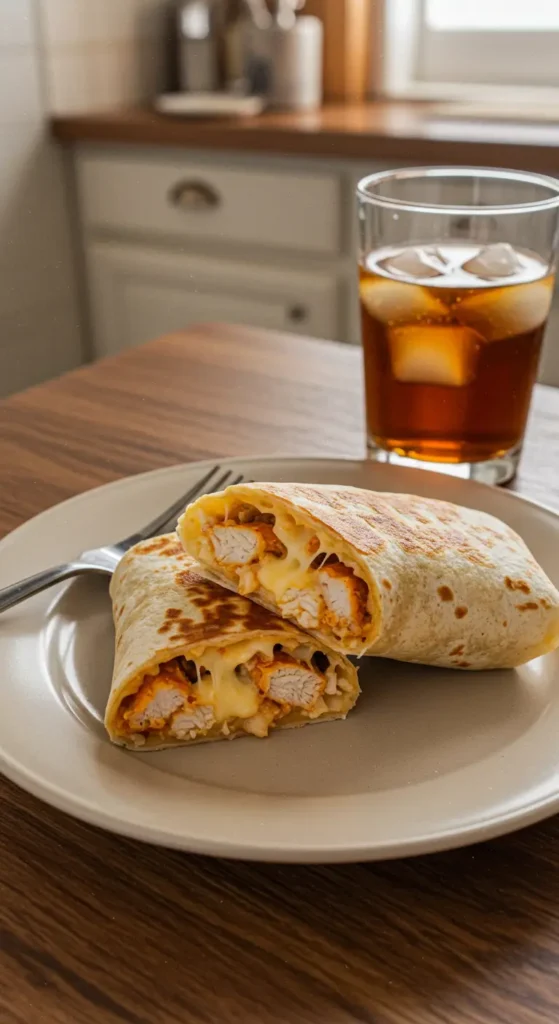
And can we talk about the cheese situation? I use a combination of cream cheese and shredded mozzarella, which gives you that perfect stretch when you bite into it, plus enough creaminess to hold everything together. I’ve tried it with just mozzarella, and honestly, it’s not the same. The cream cheese is what makes it special.
What You’ll Need
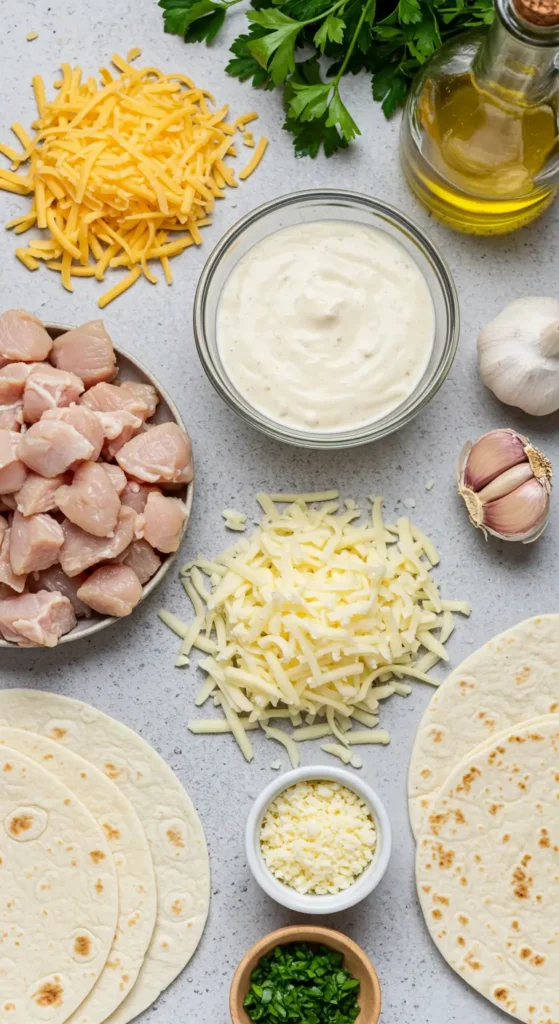
Here’s what goes into my cheesy garlic chicken wraps – and trust me, you probably have most of this stuff already:
For the Chicken:
- 2 lbs boneless, skinless chicken breasts (or thighs if you’re feeling fancy)
- 3 tablespoons olive oil
- 4 cloves fresh garlic, minced (don’t you dare use the powder)
- 2 tablespoons butter
- 1 teaspoon Italian seasoning
- Salt and black pepper to taste
For the Wraps:
- 6 large flour tortillas (burrito-size works best)
- 4 oz cream cheese, softened
- 1 cup shredded mozzarella cheese
- 1/2 cup shredded cheddar cheese
- 2 cups fresh spinach leaves
- 1 large tomato, diced
- 1/4 red onion, thinly sliced (optional, but I love the crunch)
For the Garlic Butter Sauce:
- 3 tablespoons butter
- 2 tablespoons olive oil
- 3 cloves garlic, minced
- 1/4 teaspoon red pepper flakes (trust me on this one)
- Fresh parsley for garnish
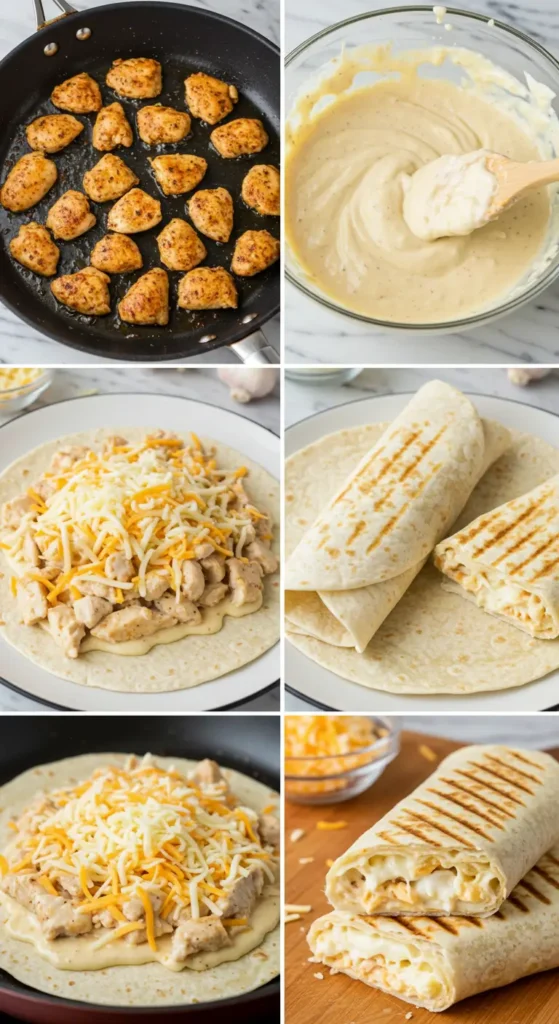
Let’s Make It
Step 1: Get That Chicken Perfect
Start by seasoning your chicken with salt, pepper, and Italian seasoning. I like to do this about 15 minutes before cooking if I remember, but honestly, even 5 minutes makes a difference.
Heat olive oil in a large skillet over medium-high heat. Add the chicken and cook for about 6-7 minutes per side, depending on thickness. Here’s my trick: don’t move it around too much. Let it get that beautiful golden color before flipping. While it’s cooking, add the minced garlic and butter to the pan during the last 2 minutes. The smell alone will have your family wandering into the kitchen.
Once the chicken is cooked through (internal temp should hit 165°F), remove it and let it rest for about 5 minutes before slicing. This is crucial – if you cut it right away, all those juices will run out and you’ll have dry chicken. Nobody wants that.
Step 2: Make the Magic Sauce
In the same pan (don’t clean it – all that garlic goodness is still there), add butter, olive oil, minced garlic, and red pepper flakes. Cook over medium heat for about 2 minutes until the garlic is fragrant. Be careful not to burn it – burnt garlic is bitter and will ruin everything.
Slice your rested chicken into strips and toss it back into the pan with the garlic butter sauce. Let it soak up all those flavors for about 2 minutes. This step is what separates good chicken wraps from absolutely incredible ones.
Step 3: Prep Your Wrap Station
While the chicken is getting happy in that garlic butter, set up your wrap assembly line. Lay out your tortillas and spread about 1 tablespoon of softened cream cheese on each one. Don’t skip this step – the cream cheese acts like glue and keeps everything from falling apart when you bite into it.
Sprinkle each tortilla with a mix of mozzarella and cheddar cheese. I use about 1/4 cup total per wrap, but honestly, if you want to go heavier on the cheese, I’m not going to stop you.
Step 4: Assembly Time
Now comes the fun part. Add a handful of fresh spinach leaves to each wrap – they’ll wilt slightly from the warm chicken, which is exactly what we want. Top with the garlic butter chicken, diced tomatoes, and red onion if you’re using it.
Here’s where I made my biggest mistake the first time: I overstuffed the wraps. Less is more here, people. You want to be able to actually roll these things without everything falling out the sides.
Step 5: The Perfect Roll
Fold in the sides of the tortilla first, then roll from the bottom up, keeping it tight but not so tight that you squeeze out all the filling. If you’re not eating them right away, wrap each one in foil to keep them warm.
Tips from My Kitchen
After making these wraps approximately a million times, I’ve learned a few things that make them even better:
Don’t skip the cream cheese. I know I mentioned this already, but it’s so important. It keeps everything creamy and prevents the wrap from getting soggy.
Fresh garlic is non-negotiable. I used to be lazy and use garlic powder, but fresh garlic makes such a difference in flavor. It’s worth the extra 30 seconds to mince it.
Warm your tortillas. Pop them in the microwave for about 20 seconds before assembling. This makes them more pliable and less likely to tear.
Let the chicken rest. I cannot stress this enough. Resting the chicken keeps it juicy and makes the whole wrap better.
Make It Your Own
The beauty of these cheesy garlic chicken wraps is how adaptable they are. My sister adds avocado and calls it her “California version.” My brother-in-law throws in some bacon because he’s obsessed with bacon. I’ve made them with grilled chicken, baked chicken, and even leftover rotisserie chicken from the grocery store.
You can also switch up the vegetables. Bell peppers, cucumbers, or even some roasted red peppers work great. Just keep in mind that really wet vegetables like tomatoes can make the wrap soggy if you’re not eating it right away.
Serving Suggestions
These wraps are pretty much a complete meal on their own, but sometimes you want a little something extra. I usually serve them with some crispy sweet potato fries or a simple side salad. They’re also amazing cut in half and served with some homemade salsa or guacamole for dipping.
If you’re meal prepping, these actually keep really well in the fridge for about 3 days. Just wrap them individually in foil and they’ll stay fresh. You can eat them cold or warm them up in the microwave for about 30 seconds.
Storage and Reheating
Leftover wraps (if there are any) can be stored in the refrigerator for up to 3 days. Wrap them tightly in foil or plastic wrap to keep them fresh. To reheat, I prefer using a skillet over medium heat for about 2-3 minutes per side – this keeps the outside from getting soggy like it would in the microwave.
You can also freeze these for up to a month. Just wrap them individually and thaw in the fridge overnight before reheating.
These cheesy garlic chicken wraps have honestly saved my sanity on more busy weeknights than I can count. They’re the kind of recipe that makes you feel like you’ve got your life together, even when you’re basically just throwing ingredients into a tortilla. And the best part? They taste like you spent way more time on them than you actually did. That’s my kind of cooking right there.