
Okay, so I messed this up twice before getting it right. And by “messed up,” I mean the first time I basically created chicken-flavored cardboard, and the second time… well, let’s just say the smoke alarm became my kitchen timer. Fun times.
But here’s the thing—everyone keeps asking for this recipe now, so I guess third time really was the charm. My neighbor Sarah literally texted me at 9 PM last week asking for it because her kids were begging for “that amazing chicken thing you made.” Kids, right? They’ll turn their nose up at a perfectly good grilled cheese but go crazy for something called “bruschetta chicken.”
Table of Contents :
How I Stumbled Into This Bruschetta Chicken :
I think I originally got this idea from my aunt… or maybe it was Pinterest? Honestly can’t remember anymore. What I do know is that I was desperately trying to use up a bunch of tomatoes that were about to go bad (you know that sad, slightly wrinkled stage where you feel guilty throwing them away?), and I had some chicken breasts sitting in my fridge giving me the stink eye.
The original plan was just to make regular old baked chicken. But then I remembered this amazing bruschetta I had at some Italian place downtown, and my brain went, “Hey, what if we just… put that on chicken?” Sometimes my best cooking happens when I’m basically throwing stuff at the wall to see what sticks.
Version 1.0 was basically cardboard, like I mentioned. I think I was too scared to season anything properly. Version 2.0 caught fire because I got distracted helping my 8-year-old with math homework (why is third-grade math so complicated now?). But Version 3.0? Chef’s kiss. Even my husband, who thinks seasoning is “too spicy,” asked for seconds.
What You’ll Need :
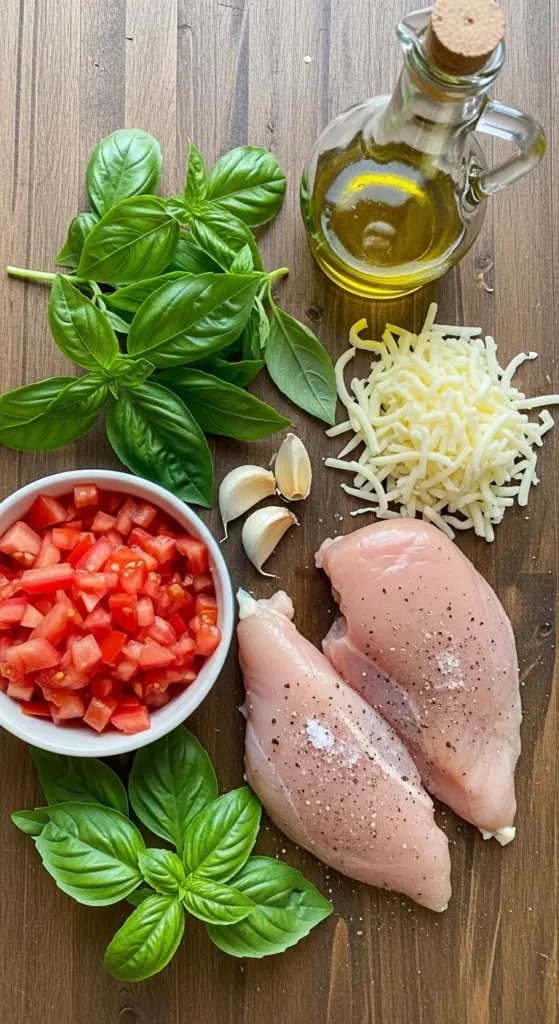
For the Chicken:
- 4 boneless, skinless chicken breasts (don’t buy the thick ones unless you like chewing rubber)
- 2 tablespoons olive oil
- 1 teaspoon garlic powder
- 1 teaspoon Italian seasoning
- Salt and black pepper (I’m heavy-handed with both, fair warning)
For the Bruschetta Topping:
- 4 medium tomatoes, diced (good luck finding decent ones this time of year)
- 1/2 red onion, finely chopped (this makes me cry even through sunglasses, weird right?)
- 3 cloves fresh garlic, minced (I use way more because I’m obsessed)
- 1/4 cup fresh basil leaves, chopped (don’t even think about using dried)
- 2 tablespoons balsamic vinegar
- 2 tablespoons olive oil
- 1 teaspoon salt
- 1/2 teaspoon black pepper
For the Cheese Layer:
- 1 cup shredded mozzarella cheese (don’t buy pre-shredded, just don’t, it’s gross)
- 1/2 cup grated Parmesan cheese (the real stuff, not the sawdust in the green can)
Quick shopping tip: I always grab extra basil because inevitably half of it turns black before I can use it. Also, if you’re tempted to buy those perfect-looking hothouse tomatoes, resist. They taste like water. Go for the ugly ones that actually smell like tomatoes.
The Method :
Step 1: Prep Your Chicken Preheat your oven to 400°F. Seriously, do this first because I always forget and then stand there tapping my foot for 10 minutes waiting for it to heat up.
Now, here’s where I learned something the hard way—pound your chicken breasts to an even thickness. Like, actually get out a meat mallet or rolling pin and whack them until they’re about 3/4 inch thick all over. I know it seems aggressive, but trust me on this one. Otherwise, you’ll have thick parts that are still raw while the thin parts turn into jerky.
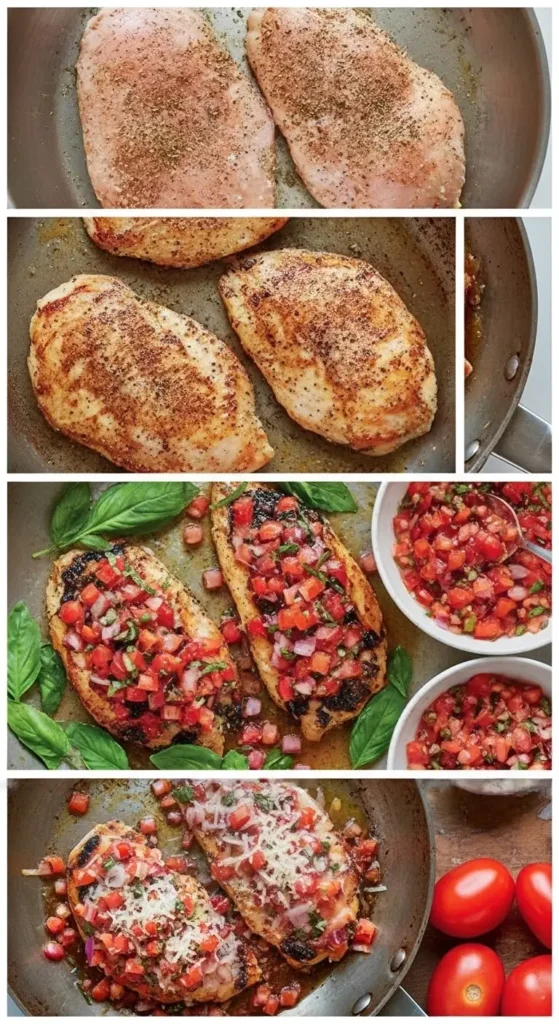
Season both sides with salt, pepper, garlic powder, and Italian seasoning. Don’t be shy here—chicken is basically a blank canvas that needs all the help it can get.
Step 2: Sear the Chicken (The Key Step I Almost Skipped) Heat that olive oil in a large oven-safe skillet over medium-high heat. If you don’t have an oven-safe skillet, you can use a regular pan and transfer everything to a baking dish later, but honestly, it’s just more dishes to wash.
Sear the chicken for about 3-4 minutes per side until it’s golden brown. It won’t be cooked through yet—that’s what the oven is for. This step adds SO much flavor. I almost skipped it the first time because I was being lazy, and that’s probably why Version 1.0 tasted like cardboard.
Step 3: Make the Bruschetta Topping While the chicken is searing, dice up your tomatoes. And by dice, I mean cut them into small-ish pieces that won’t slide off the chicken. I learned this after watching half my topping migrate to the bottom of the pan.
Toss the tomatoes, red onion, garlic, and basil in a bowl. Add the balsamic vinegar, olive oil, salt, and pepper. Give it a good stir and let it sit while you deal with the chicken. The flavors need a minute to get acquainted.
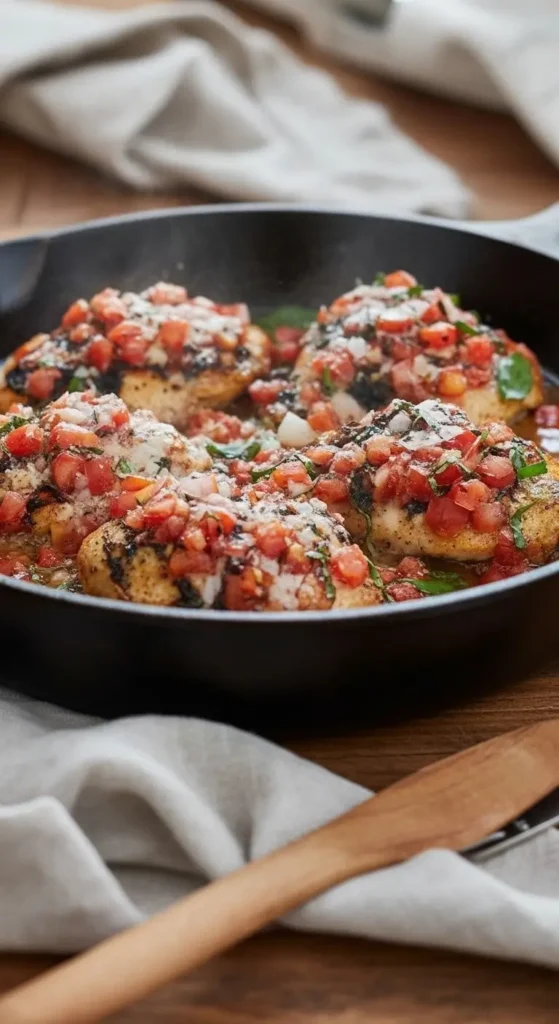
Step 4: Assembly Time This is where it gets fun. Take your seared chicken (it should still be in that oven-safe pan if you’re smart like me now) and top each piece with the bruschetta mixture. Don’t worry if it looks like a lot—it’ll cook down some.
Then sprinkle the mozzarella and Parmesan over the top. I’m generous with the cheese because, well, cheese makes everything better. My 8-year-old refuses to eat anything green, but somehow she loves this because “the cheese hides the green stuff.”
Step 5: Into the Oven Bake for about 20-25 minutes, or until the chicken reaches 165°F internal temp. Set a timer for 20 minutes and then start checking, because ovens are liars and yours might run hot or cold.
The cheese should be melted and slightly golden, and the tomatoes should look… well, less fresh and more cooked. Technical terms, I know.
The Real Talk Section :
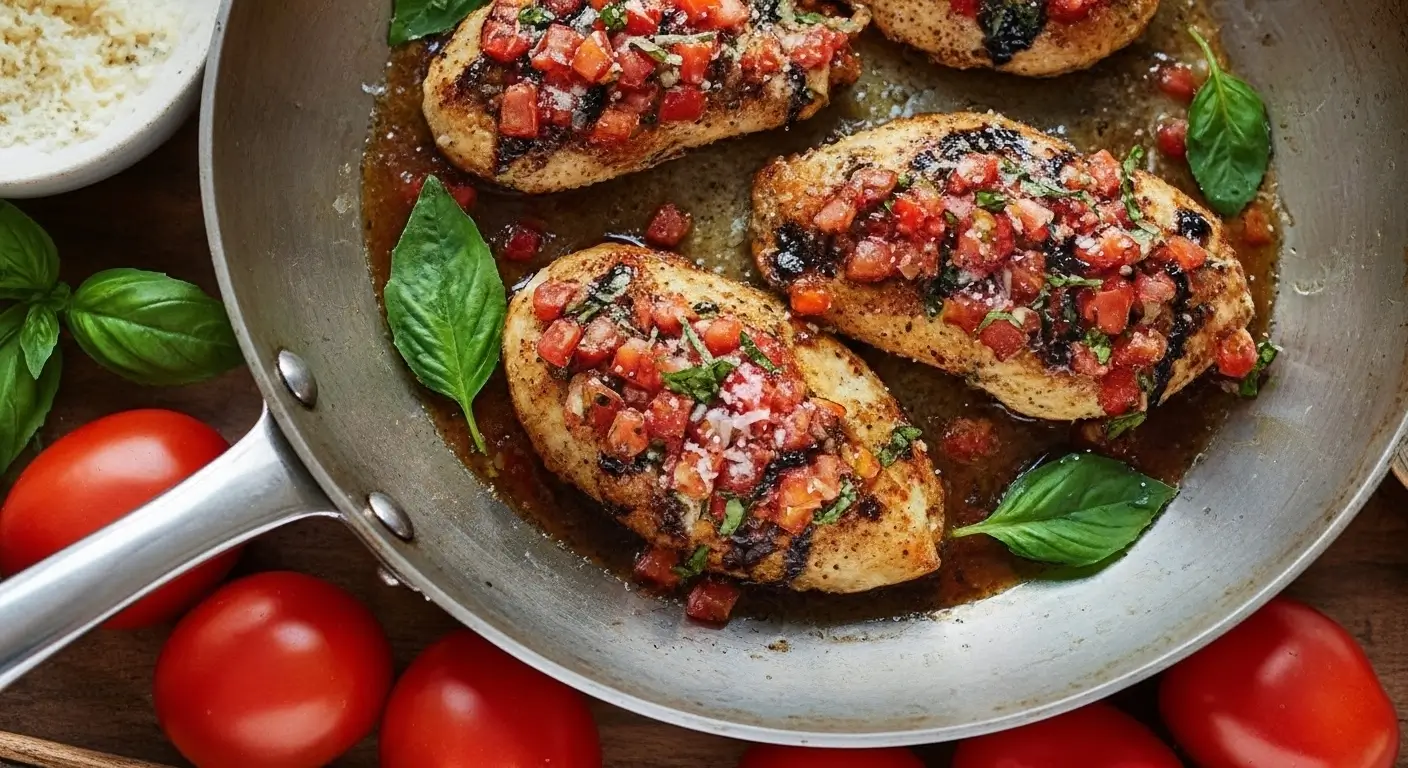
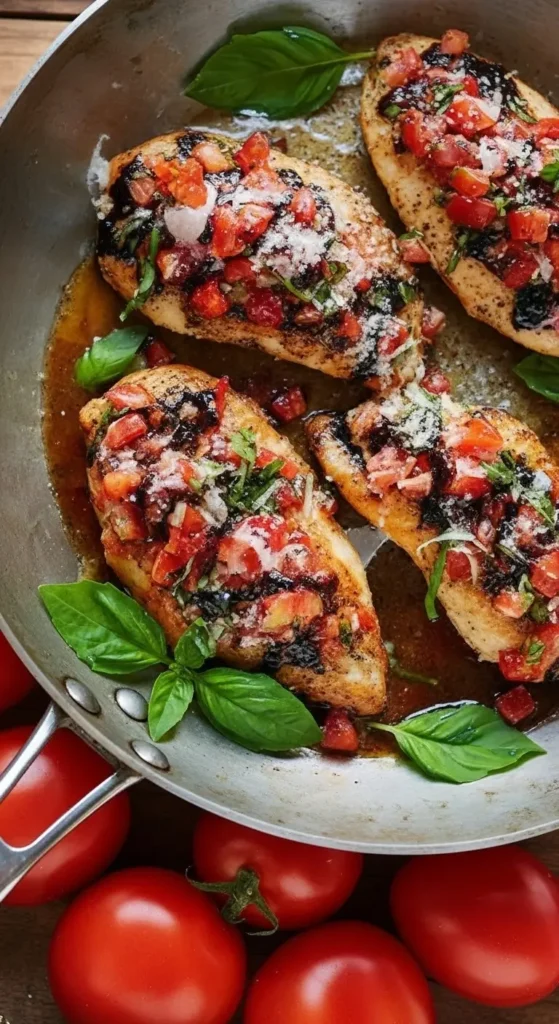
Let me be honest here—this isn’t fancy restaurant food. It’s not going to win any beauty contests. The first time I made it (successfully), I was worried it looked kind of rustic. Okay, it looked messy. But you know what? Sometimes the best food looks like it was made by actual humans in actual kitchens.
And speaking of real talk—this reheats surprisingly well. I meal prep this sometimes for my lunches, and it’s actually better the next day when all the flavors have had time to mingle. Just reheat it in the oven, not the microwave, unless you enjoy rubbery chicken.
What I Learned Along the Way :
Timing is everything with this dish. The key is—oh wait, I forgot to mention—you need to let the bruschetta mixture sit for at least 10 minutes before putting it on the chicken. The tomatoes release their juices and create this amazing sauce that keeps everything moist.
Also, don’t be tempted to flip the chicken once it’s in the oven. Just don’t. I know it’s hard to resist, but leave it alone. The bottom will get a nice crust from the initial searing, and the top will get golden from the cheese.
One more thing—if you burn the bottom slightly (been there), just scrape off the burned bits and keep going. Nobody will know, and it’ll still taste amazing.
Serving Suggestions from Real Life :
This is great with a simple side salad or some roasted vegetables. I’ve served it with everything from garlic bread (because carbs are life) to steamed broccoli (because I’m trying to be healthy-ish).
My kids eat this with a side of ranch dressing. Before you judge me, pick your battles. They’re eating tomatoes and basil without complaining, so I call it a win.
The Verdict :
People keep asking for this recipe, so I guess I did something right. It’s not fancy, but it’s good, and that’s what matters in my house. Plus, it makes your kitchen smell incredible while it’s cooking, which is basically aromatherapy.
The best part? If I can make this without burning down my kitchen (third time’s the charm!), anyone can. It’s become my go-to when I need to feed people and actually look like I know what I’m doing.
So there you have it—my bruschetta chicken disaster-turned-success story. Let me know how yours turns out! Seriously, I’m curious if anyone else had to attempt this multiple times or if I’m just special like that.
Happy cooking! (And may your smoke alarms stay quiet.)
P.S. – If you try this, definitely use fresh basil. The dried stuff just isn’t the same, and your kitchen won’t smell nearly as amazing.